HVAC Shutdown Steps During Fire Alarms
When a fire alarm sounds, your HVAC system must shut down immediately to prevent smoke and toxic gases from spreading. Here’s what you need to know:
- Why Shutdowns Matter: Running HVAC systems during a fire can spread smoke, feed the fire with oxygen, and block evacuation routes.
- Key Standards: Follow NFPA 72 and NFPA 90A for automatic shutdowns, proper smoke detector placement, and regular system testing.
- Steps to Shut Down:
- Verify the alarm.
- Access emergency HVAC controls.
- Press the “Emergency Stop” button.
- Confirm all systems are off, including fans and dampers.
- Post-Shutdown Checks: Inspect control panels, airflow, and damper positions to ensure the system is fully deactivated.
- Maintenance: Test systems quarterly and document inspections to comply with regulations and avoid costly fines.
Properly maintaining and shutting down your HVAC system during fire alarms is critical for safety and compliance.
Fixing Fire alarm HVAC shutdown problem
How HVAC and Fire Alarms Work Together
Building safety depends on HVAC and fire alarm systems working as a team. These systems monitor air quality, temperature, and smoke in both occupied spaces and ductwork. When integrated properly, they ensure quick and accurate shutdowns during emergencies.
Why HVAC Systems Must Shut Down During Fires
Running HVAC systems during a fire presents serious risks, including:
- Spreading smoke and toxic gases through return ducts
- Feeding the fire with additional oxygen due to air drafts
- Blocking evacuation routes by pushing smoke into stairwells and hallways
- Disrupting containment efforts by leaving dampers open between zones
Because of these risks, compliance with NFPA and local safety codes is non-negotiable.
Key Safety Codes and Standards
To ensure proper HVAC shutdown during a fire, building owners must follow NFPA standards and local regulations. Here are some critical guidelines:
| Requirement Type | Standard | Key Requirements |
|---|---|---|
| Fire Alarm Integration | NFPA 72 | – Automatic HVAC shutdown when alarms activate – Emergency override controls – Routine testing of shutdown procedures |
| Smoke Control | NFPA 90A | – Correct placement of smoke detectors in ductwork – Fire damper requirements – Defined response time limits for the system |
| Building Codes | IBC Chapter 9 | – Proper placement of control panels – Emergency power availability – Maintenance and inspection documentation |
Building managers should keep thorough records of inspections, tests, and repairs to align with fire safety codes and regulations.
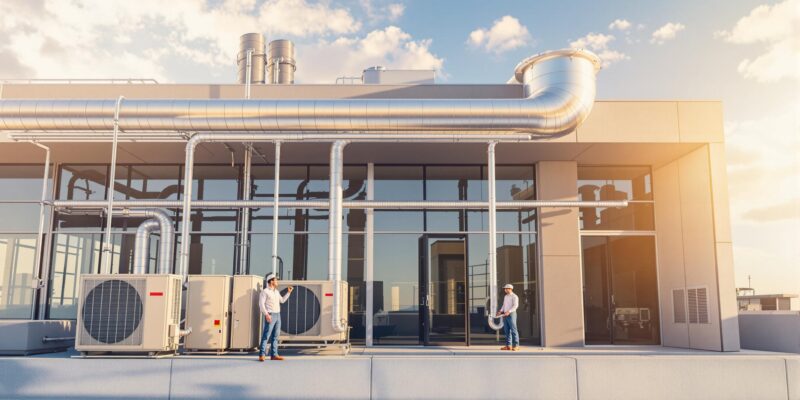
HVAC Shutdown Steps
Locating Emergency Controls
Emergency HVAC controls must be easy to find in key areas of the building. Typically, the main control panel is in the mechanical room. Additional emergency shutdown switches can be found at:
- The main security desk
- Building management office
- Fire command center
- Each major mechanical room
These control stations should have clear, high-visibility signage and adequate lighting to ensure they can be quickly identified in emergencies. Once located, follow the steps below to safely shut down the HVAC system during an emergency.
Steps for Proper Shutdown
When a fire alarm is triggered, take the following steps to safely shut down the HVAC system:
- Verify the Alarm: Check the fire alarm panel to confirm the alarm is valid and identify the affected zones.
- Access the Controls: Locate and access the nearest HVAC emergency control panel.
- Activate the Emergency Stop: Press the clearly marked “Emergency Stop” button.
- Confirm System Shutdown: Ensure that air handling units, fans, dampers, and makeup air units have stopped operating. Document the time and order of these actions.
Once the system is shut down, perform safety checks to confirm it is fully deactivated.
Post-Shutdown Safety Checks
After shutting down the HVAC system, conduct these essential checks to confirm everything is secure:
| Check Type | Verification Points | Actions to Take |
|---|---|---|
| Visual Inspection | – Control panel indicators – Damper position markers – Fan operation lights |
– Record indicator statuses – Note any irregularities – Report issues |
| System Response | – Airflow in ducts – Noise from motors – Damper closure |
– Check for lingering airflow – Listen for running equipment – Confirm dampers are sealed |
| Zone Isolation | – Fire barrier conditions – Smoke containment – Emergency exit status |
– Inspect fire doors – Monitor smoke spread – Keep evacuation paths open |
Once emergency services have cleared the building, only trained HVAC technicians should restart the system. This ensures the equipment is restored properly and prevents additional damage or safety risks.
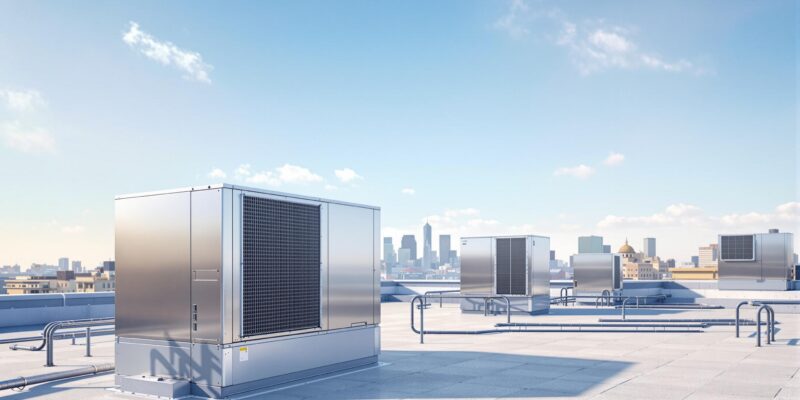
Main Parts of the Shutdown System
An effective HVAC shutdown system depends on key components working together in line with NFPA guidelines.
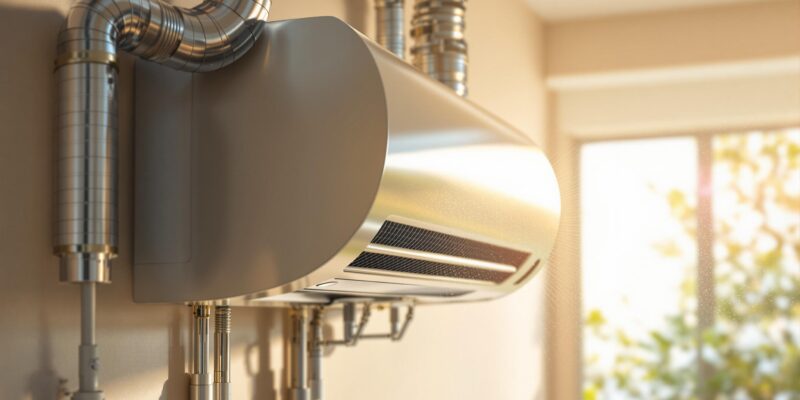
Smoke Detectors in Ductwork
Smoke detectors installed within ductwork play a key role in HVAC fire safety. These sensors are strategically placed at specific points in the system, such as:
- Supply air ducts: Monitor air being distributed to occupied areas.
- Return air ducts: Check the air returning from different parts of the building.
- Main air handler units: Detect issues at critical filtering stages.
Once smoke is detected, these sensors trigger the system to start shutdown procedures. A well-designed alarm wiring system ensures the shutdown command reaches all necessary HVAC controls without delay.
Alarm Connections and Wiring
Reliable communication between the fire alarm system and HVAC controls is crucial for a smooth shutdown process. The system’s wiring includes several important components:
| Component | Function |
|---|---|
| Control Relays | Automatically activate HVAC shutdown. |
| Interface Modules | Connect HVAC controls to the fire alarm panel. |
| Emergency Power | Keeps essential functions running during outages. |
| Monitoring Circuits | Checks system integrity and identifies faults. |
Proper wiring practices – such as secure connections, clear labeling, and regular testing – are vital to ensure the shutdown system operates as intended during emergencies.
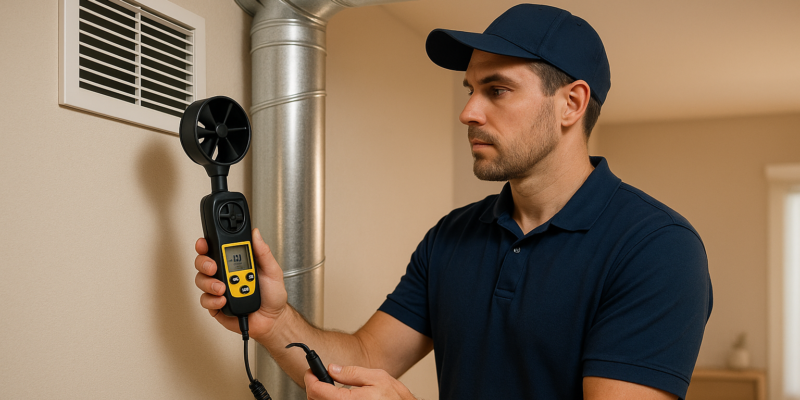
System Testing and Upkeep
Performing regular testing and maintenance ensures HVAC shutdown systems function correctly during fire emergencies, as outlined by NFPA standards.
Regular Testing Steps
NFPA 90A specifies annual testing, but conducting checks every quarter can enhance safety. Hydrodynamics Inc. (https://dynamichvacpa.com) advises quarterly functional tests to improve system reliability and maintain compliance.
| Component | Test Method | Success Criteria |
|---|---|---|
| Duct Detectors | Aerosol smoke simulation | Activation within 90 seconds |
| Control Relays | Signal verification | 24V transmission confirmed |
| HVAC Response | System shutdown check | Complete stop within 120 seconds |
| Damper Operation | Physical inspection | Full closure without binding |
These procedures confirm that all components meet performance standards.
Key considerations for testing include:
- Notify building occupants 48 hours before testing, as required by OSHA.
- Use proper lockout/tagout practices and maintain emergency ventilation during tests.
- Follow all safety guidelines during the testing process.
For instance, during a routine quarterly test at a Philadelphia high-rise in April 2024, a failed damper actuator was identified. Replacing it promptly avoided $1.2 million in potential damages [3].
Required Records and Inspections
Keeping accurate records of test results is essential for regulatory compliance and future reference. NFPA 72 mandates maintaining detailed records for at least three years. Pennsylvania regulations specifically require the following:
- Test Documentation
- Dates and times of tests
- Technician names and certifications
- Serial numbers and locations of equipment
- Detailed test results and measurements
- Maintenance Records
- Descriptions of repairs
- Dates of part replacements
- Actions taken to address issues
- Results of follow-up verifications
“The 2024 NFPA Fire Code Enforcement Report showed average fines of $2,500–$5,000 for missing inspection records. In extreme cases, insurers denied claims due to lapsed maintenance logs.” [2]
Modern automation tools can cut testing time by 40% and automatically generate compliance reports. Data from IFSTA highlights that dust buildup in duct detectors is responsible for 42% of system failures, followed by corroded wiring (28%) and expired detector batteries (19%) [1].
Summary
Proper HVAC shutdown procedures play a key role in maintaining building safety and meeting NFPA standards. Connecting fire detection systems with HVAC controls demands regular upkeep and testing to reduce the risk of system failures. To ensure systems perform reliably during emergencies, consider these steps:
Building managers should:
- Keep Detailed Records: Maintain thorough documentation of inspections and maintenance tasks.
- Regularly Inspect Key Components: Focus on critical parts like smoke detectors, dampers, and control relays.
- Review and Update Procedures: Adjust shutdown protocols periodically to meet current safety standards.
- Train Staff Thoroughly: Make sure all personnel understand and can execute emergency shutdown procedures effectively.
Certified HVAC technicians play an important role in ensuring NFPA compliance. Since 1994, Hydrodynamics Inc. has supported facilities by conducting comprehensive testing and maintenance, confirming that all essential components operate as intended.
FAQs
Why is it important to shut down an HVAC system during a fire alarm?
Failing to shut down an HVAC system during a fire alarm can lead to serious safety risks. HVAC systems can circulate smoke and toxic fumes throughout a building, reducing air quality and making it harder for occupants to evacuate safely. Additionally, the airflow from these systems may inadvertently fuel the fire, increasing its intensity and spread.
To ensure compliance with NFPA safety standards and protect building occupants, it’s critical to follow proper shutdown procedures for your HVAC system during a fire alarm. Always prioritize safety and consult professionals, like Hydrodynamics Inc., for guidance on maintaining and managing your HVAC systems effectively.
How often should HVAC systems be tested to meet NFPA compliance standards?
HVAC systems should be tested at least annually to ensure they meet NFPA compliance standards and operate safely. Regular testing helps identify potential issues, maintain system efficiency, and verify that all safety protocols are functioning correctly during emergencies, such as fire alarms.
For specific requirements, refer to the National Fire Protection Association (NFPA) guidelines or consult a professional HVAC service provider to ensure your system is up to code and properly maintained.
What role do smoke detectors in ductwork play in shutting down HVAC systems during a fire emergency?
Smoke detectors in ductwork are critical for identifying smoke or fire within the HVAC system. When smoke is detected, these sensors trigger an automatic shutdown of the HVAC system to prevent the spread of smoke and fire through the building’s ventilation. This safety measure helps protect occupants, minimizes property damage, and ensures compliance with NFPA (National Fire Protection Association) standards.
By isolating airflow, the system reduces the risk of smoke circulating to other areas, giving occupants more time to evacuate safely and aiding firefighters in containing the situation.