How Geothermal Networks Work: Guide for Property Owners
As the world seeks sustainable energy solutions, geothermal networks have emerged as a transformative option for heating and cooling systems. With their potential to decarbonize energy usage, reduce costs, and provide efficient alternatives to traditional gas and electric systems, geothermal networks are gaining significant traction among states, utilities, and property owners alike. This guide delves into the essentials of geothermal networks, drawing insights from a detailed webinar hosted by leading experts in the field.
What Are Geothermal Networks?
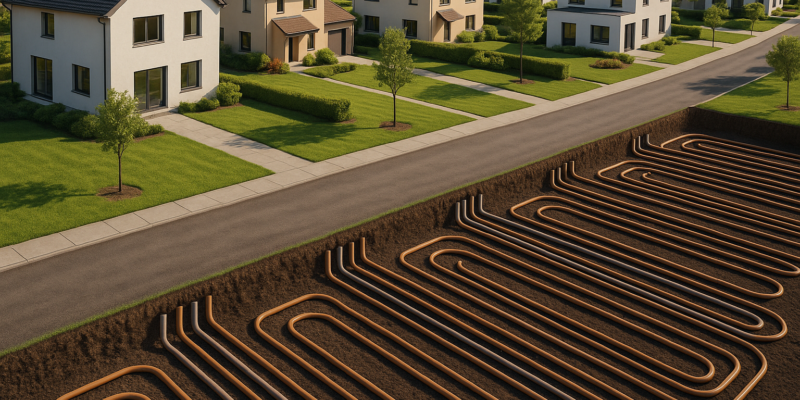
At their core, geothermal networks are decentralized systems that use ambient thermal energy stored in the Earth’s subsurface to provide sustainable heating and cooling. Unlike traditional geothermal systems dedicated to single buildings, networked geothermal connects multiple buildings via a loop of underground pipes filled with water or a water-antifreeze mixture. This setup allows for efficient heat exchange without combustion, making it a clean and renewable solution.
How Geothermal Networks Differ From Traditional Systems
- Traditional Geothermal Systems: Typically serve one building, relying on localized boreholes for heating and cooling.
- Geothermal Networks: Utilize interconnected loops to distribute thermal energy to multiple buildings, improving efficiency through shared infrastructure.
sbb-itb-99db659
Why Geothermal Networks Work
Geothermal networks capitalize on the Earth’s stable underground temperatures to provide consistent energy. According to experts, this technology offers a series of advantages:
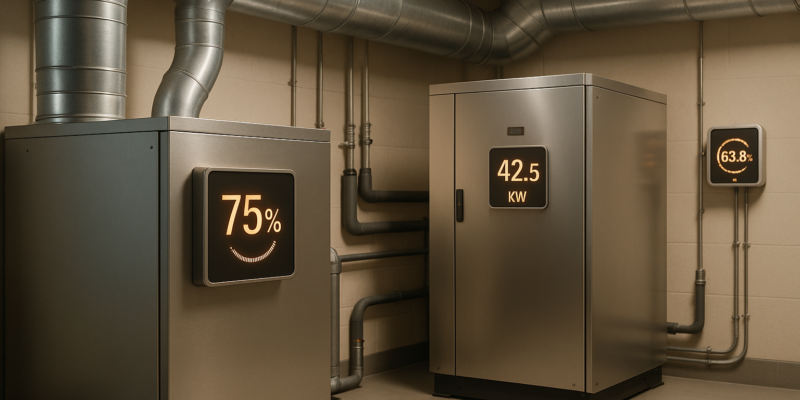
- Energy Efficiency: Heat pumps used in geothermal networks achieve higher coefficients of performance (COP), significantly reducing electricity usage compared to traditional systems.
- Grid Benefits: By reducing electricity demand during peak winter months, geothermal networks help alleviate strain on the electric grid.
- Scalability: These networks can be expanded modularly, adding more buildings or loops over time without disrupting existing infrastructure.
- Environmental Benefits: By transitioning buildings off fossil fuels, geothermal networks play a vital role in reducing greenhouse gas emissions and meeting state decarbonization targets.
Designing a Geothermal Network
The design of a geothermal network involves three key components:
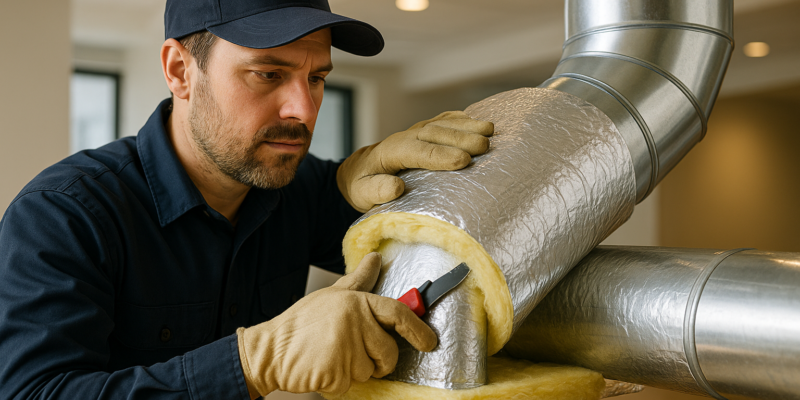
- Buildings: Each building is equipped with water-source heat pumps to extract or reject thermal energy.
- Distribution Loops: Underground pipes circulate water at ground temperature, facilitating efficient energy transfer.
- Thermal Utility Management: A centralized system oversees the thermal balance, ensuring optimal performance by regulating energy inputs and outputs.
Factors Influencing Design
- Load Diversity: Networks work best when different types of buildings (residential, commercial, municipal) with varying heating and cooling demands are connected. This diversity enhances efficiency by balancing energy needs.
- Site Suitability: Borehole drilling, access to alternative thermal sources (e.g., sewer heat recovery), and sufficient customer density are critical considerations.
- Customer Adoption: A strong engagement strategy is essential to ensure a critical mass of participants, as the viability of the network depends on shared infrastructure costs.
Case Studies: Success and Challenges
The Framingham, Massachusetts Pilot
Framingham serves as a pioneering example of utility-led geothermal implementation. Managed by Eversource Energy, this project connected 36 buildings, including residential, commercial, and municipal properties:
- Key Achievements: The project reduced reliance on gas and electric resistance heating, demonstrating cost savings and emissions reductions.
- Challenges: Retrofitting older buildings with geothermal-compatible systems proved costly, highlighting the potential cost advantages of targeting new construction.
Lessons From Lowell, Massachusetts
In contrast, a proposed project in Lowell was halted due to high costs and insufficient customer adoption. The case underscored the importance of:
- Aligning project size with customer participation to avoid cost inefficiencies.
- Leveraging economies of scale to lower per-unit costs.
Opportunities in Rural and Urban Areas
Urban Areas: Dense neighborhoods with diverse building types and significant heating and cooling demands are ideal for geothermal networks. These areas maximize the efficiency of shared infrastructure.
Rural Areas: While less dense regions pose challenges, creative solutions such as repurposing existing water networks for thermal delivery can make rural geothermal networks feasible. However, unclustered buildings remain a significant barrier.
Policy and Regulatory Support
State policies play a crucial role in advancing geothermal adoption. Massachusetts has been at the forefront, with measures including:
- Regulatory approvals for utility-led pilots.
- Legislation redefining gas utilities as thermal utilities capable of managing geothermal networks.
- Integrated energy planning to align geothermal deployment with grid decarbonization goals.
Other states, such as Maryland and Colorado, are also exploring geothermal networks through demonstration projects and legislative incentives.
Benefits for Homeowners, Businesses, and Communities
Geothermal networks offer a range of advantages for different stakeholders:
- Homeowners:
- Lower energy bills.
- Reliable heating and cooling without dependence on fossil fuels.
- Businesses:
- Reduced operational costs and enhanced sustainability.
- Opportunities to meet corporate decarbonization targets.
- Communities:
- Local job creation in drilling and installation.
- Improved air quality and reduced energy inequities.
Key Takeaways
- Geothermal Networks Are Scalable: Their modular nature allows for incremental growth, making them adaptable to various community sizes and energy demands.
- Efficiency Drives Cost Savings: By sharing infrastructure and utilizing high-efficiency heat pumps, geothermal networks reduce operational costs and strain on the electric grid.
- Customer Engagement Is Essential: Successful projects require strong community buy-in and education to ensure sufficient participation.
- Target New Construction for Cost Effectiveness: Retrofitting older buildings can be expensive; integrating geothermal into new developments offers significant cost advantages.
- Supportive Policies Are Critical: Legislative and regulatory frameworks are vital to scale geothermal networks and ensure utility involvement.
- Diverse Load Profiles Enhance Efficiency: Connecting buildings with varying energy demands maximizes the system’s effectiveness and reduces overall costs.
- Adaptability Across States: While urban areas remain the primary focus, rural opportunities exist with creative planning and resource utilization.
Conclusion
Geothermal networks represent a transformative opportunity to decarbonize heating and cooling systems while promoting energy efficiency and equity. As the technology evolves, collaboration among utilities, policymakers, and communities will be crucial in addressing challenges and scaling its benefits. With proper planning, geothermal networks can pave the way for a cleaner, more sustainable future – right beneath our feet.
Source: “Geothermal Networks: An Opportunity for States (8.11.25)” – Clean Energy Group / Clean Energy States Alliance, YouTube, Aug 11, 2025 – https://www.youtube.com/watch?v=JDTIPQ3sSNI