Duct Leakage Testing Methods Explained
Duct leakage testing helps identify air loss in HVAC systems, which can waste up to 30% of conditioned air and increase energy bills. Testing also improves air quality, boosts HVAC efficiency, and ensures compliance with building codes.
Here are the three main methods:
- Duct Pressurization Testing: Uses a calibrated fan to measure precise air leakage in ducts. Cost: $150–$500. Ideal for compliance and detailed audits.
- Blower Door Testing: Measures overall home airtightness, including duct leaks. Cost: $150–$1,000+. Best for whole-house assessments.
- Visual Inspections: Involves spotting visible leaks or damage. Low-cost but less accurate. Good for initial checks.
Each method fits different goals and budgets. For accurate results and compliance, duct pressurization is the most reliable. Professional testing is often recommended for precise data and long-term savings.
Residential Duct Leakage Test Demonstration
Duct Leakage Testing Methods
When it comes to detecting duct leakage, professionals rely on three main methods, each tailored to specific needs. These approaches vary in accuracy and purpose, helping to evaluate your HVAC system’s efficiency and compliance.
Duct Pressurization Testing (Duct Blaster)
Duct pressurization testing involves using a calibrated fan to pressurize the duct system to 25 Pascals. The amount of air leakage is measured by determining how much air the fan needs to replace lost air. This method is often used to ensure compliance with standards like the 2015 IECC, which requires no more than 4 CFM of leakage per 100 square feet of conditioned space.
Certified technicians typically perform this test, as the equipment can be costly. Homeowners can expect to pay between $150 and $500 per HVAC system for a professional duct blaster test.
Blower Door Testing
Blower door testing focuses on measuring the overall airtightness of a home. A powerful fan is installed in an exterior door frame to create a 50-Pascal pressure difference. During the test, all windows, doors, and intentional openings are sealed, allowing the fan to be the sole pathway for air movement. An adjustable frame and digital manometer are used to record the results.
This test measures airtightness in ACH50 (air changes per hour at 50 Pascals). Requirements vary based on climate zones and local codes. For instance, the 2015 IECC mandates that homes in Zone 2 achieve 5 ACH50 or less. Blower door tests can also help identify duct leaks in unconditioned spaces like attics or crawlspaces when combined with duct testing. Costs for this method range from $150 to over $1,000, depending on the home’s size and complexity.
Visual Inspection Methods
Visual inspections are the simplest and most affordable way to detect duct leaks, though they lack the precision of pressure-based tests. This method involves examining accessible ductwork for visible leaks, disconnections, or damaged insulation. Tools like smoke pens or video endoscopes can help identify problem areas without measuring exact air loss.
While this approach is excellent for spotting obvious issues, it cannot quantify air leakage and is limited to areas where ducts are accessible. Hidden ductwork in walls or ceilings may harbor small leaks that collectively lead to significant energy loss. Visual inspections are often used as a preliminary step before more detailed testing or to locate specific problem areas after pressure testing confirms leakage.
| Testing Method | Cost Range | Best Used For | Limitations |
|---|---|---|---|
| Duct Pressurization (Duct Blaster) | Moderate ($150-$500) | Code compliance; precise leakage measurement | Requires professional equipment |
| Blower Door Testing | Moderate to High ($150-$1,000+) | Whole-house airtightness; finding external duct leaks | Does not isolate duct-specific issues |
| Visual Inspection | Low | Initial checks; identifying obvious problems | Limited to accessible areas; no air loss quantification |
Together, these methods provide a well-rounded approach to duct leakage assessment. Professionals often begin with visual inspections to address visible issues and then turn to pressure-based tests for precise measurements and verification after repairs.
How to Perform Duct Pressure Testing
This section explains the step-by-step process for duct pressure testing, a crucial method for measuring air leakage in duct systems. Accurate testing requires careful preparation and execution.
Required Tools and Equipment
To get started, you’ll need a duct tester, which combines a calibrated fan with a digital manometer. The fan generates the required 25 Pascal pressure in the duct system, and the manometer measures pressure differences and airflow rates.
You’ll also need materials to seal vents and registers temporarily. Common sealing supplies include tape, plastic sheeting, and foam plugs. If the test reveals significant air leakage, a theatrical smoke machine can help pinpoint problem areas. For permanent fixes, have UL-listed foil mastic tape on hand.
Additional tools like a pressure pan are useful for identifying specific trouble spots. Before beginning, ensure all equipment, especially the duct tester, is calibrated according to the manufacturer’s instructions.
Testing Steps
- Turn off the HVAC system: This prevents interference with the test and ensures safety for both the equipment and personnel.
- Seal the system: Close off all vents, registers, and access points to create an airtight environment. Any unsealed openings will skew the pressure readings.
- Set up the duct tester: Attach the tester securely to a return duct grill. Ensure there’s no air leakage around the connection point. Follow the manufacturer’s setup instructions to connect the manometer and prepare the system for pressurization.
- Pressurize the ducts: Turn on the fan and increase the pressure to 25 Pascals. This standardized pressure ensures consistent testing and compliance with building codes. Record the airflow rate in cubic feet per minute (CFM) once the pressure stabilizes.
- Test supply ducts: Repeat the procedure for the supply ducts and average the readings for a complete assessment.
- Document results: Record all data, including pressure differentials and airflow rates. Accurate documentation is essential for code compliance and future reference.
After completing these steps, you’ll have the data needed to evaluate the system’s performance.
Reading Test Results
The results are expressed as CFM25, which measures airflow loss at 25 Pascals. Higher CFM25 values indicate more significant leakage.
Acceptable leakage limits depend on building codes and the stage of construction. For systems under construction, the standard is typically 4 CFM25 per 100 square feet of conditioned floor area. For finished buildings, the limit ranges between 6 to 8 CFM25 per 100 square feet, depending on local regulations.
The 2012 IECC specifies a maximum leakage of 4 CFM25 per 100 square feet of conditioned space. Under ENERGY STAR Version 3, rough-in tests allow up to 4 CFM25 per 100 square feet (or 40 CFM25 total, whichever is greater), while final tests permit up to 8 CFM25 per 100 square feet (or 80 CFM25 total).
To determine compliance, calculate the allowable leakage for your home by multiplying the conditioned floor area by the applicable CFM25 rate. For example, in a 2,000-square-foot home, the maximum leakage under the 2012 IECC would be 80 CFM25.
Proper sealing is essential for HVAC efficiency, as duct leaks can waste up to 30% of conditioned air. If your system exceeds the acceptable limits, use a smoke machine to locate leaks and perform targeted repairs.
| Code Standard | Construction Stage | Maximum Leakage | Alternative Minimum |
|---|---|---|---|
| 2012 IECC | Final | 4 CFM25 per 100 ft² | N/A |
| ENERGY STAR V3 | Rough-in | 4 CFM25 per 100 ft² | 40 CFM25 total |
| ENERGY STAR V3 | Final | 8 CFM25 per 100 ft² | 80 CFM25 total |
| 2009 IECC | Final | 8 CFM25 per 100 ft² (to outdoors) | 12 CFM25 per 100 ft² (total) |
Once repairs are complete, conduct a retest to confirm the system meets code requirements and operates efficiently.
Code Requirements and Standards
Building on the testing methods discussed earlier, ensuring compliance hinges on following strict code standards and maintaining detailed documentation. A solid understanding of duct leakage testing codes is essential for creating efficient and compliant HVAC systems.
U.S. Building Codes and Limits
The International Energy Conservation Code (IECC) serves as the foundation for duct leakage standards across the U.S., with many states adopting these guidelines. Over the years, these standards have become more rigorous.
Earlier IECC versions set rough-in limits between 4–6 CFM per 100 ft², but later versions tightened this to 4 CFM per 100 ft². The 2009 IECC introduced post-construction limits of 8 CFM per 100 ft² for outdoor leakage and 12 CFM per 100 ft² for total leakage.
The 2012 IECC went further, establishing a single post-construction limit of 4 CFM per 100 ft² of conditioned floor area for total leakage.
The 2021 International Residential Code (IRC) retains similar standards but adds more detailed testing requirements. For rough-in tests, leakage must not exceed 4.0 CFM per 100 ft² if the air handler is installed, or 3.0 CFM per 100 ft² if it’s not. Post-construction testing allows up to 4.0 CFM per 100 ft², while ducts entirely within the thermal envelope can have up to 8.0 CFM per 100 ft².
The 2021 IECC also introduced mandatory testing for all air-handling ductwork, regardless of its location.
For commercial systems, the standards are even stricter under the updated ASHRAE 90.1 code. The maximum system leakage rate is now 5%, with ductwork alone limited to 3%. Moreover, supply and return ducts leaking to or from outdoors cannot exceed 2%.
“These updates really reflect the industry’s increased understanding of the critical role that duct performance plays in overall building performance. It also highlights the fact that taking a whole-system approach is vital to achieving maximum energy efficiency”.
States like California, Illinois, and Washington are setting even tougher standards. California’s Title 24, for example, focuses heavily on duct system performance. Many experts believe other states will follow California’s lead.
These codes establish the benchmarks that testing documentation must confirm.
Testing Documentation Requirements
Once the limits are set, proper documentation becomes essential to verify compliance and guide any necessary corrections. Both the 2009 and 2012 IECC require duct tightness verification through either rough-in or post-construction testing.
Certified raters must document leakage levels using RESNET-approved protocols, ensuring consistent and reliable testing procedures.
Timing matters when it comes to testing. If duct leakage is tested at the rough-in stage, a HERS rater must confirm and document compliance with the standard of 4 CFM25 per 100 ft² of conditioned floor area or 40 CFM25 (whichever is greater), using approved testing methods. Additionally, they must perform a final visual inspection to ensure duct boots are sealed correctly to finish surfaces.
Documentation should include leakage results, the conditioned area, and test conditions. For ENERGY STAR Version 3 Rev 11 compliance, testing can occur at rough-in or final stages, with specific limits: 4 CFM25 per 100 ft² or 40 CFM25 (whichever is greater) at rough-in, and 8 CFM25 per 100 ft² or 80 CFM25 (whichever is greater) at final.
As Neal Walsh explains:
“With this new standard, getting it right the first time is critical. Having to re-seal and re-test increasingly larger portions of the duct system can easily turn into a time- and labor-intensive proposition”.
Before starting any project, confirm which version of the IECC your jurisdiction uses to ensure compliance with the applicable duct leakage testing requirements. As regulations continue to evolve, expect tighter leakage limits, increased testing coverage, and broader inclusion of various duct types in testing.
sbb-itb-99db659
Pros and Cons of Each Testing Method
Looking at the various testing methods side by side can help clarify how each one fits into different scenarios. Your choice will ultimately depend on factors like your budget, the type of building you’re working with, and your specific goals. Each method has its strengths and weaknesses, which can impact your overall testing strategy.
Method Comparison Chart
Here’s a quick breakdown of the trade-offs for each approach, so you can decide which one aligns best with your needs:
| Testing Method | Accuracy | Best For | Main Limitations |
|---|---|---|---|
| Duct Pressurization | High | Residential & Commercial | Requires specialized equipment |
| Blower Door Testing | High | Residential buildings | Measures entire building, not just ducts |
| Visual Inspection | Lower (~67% accuracy) | Initial assessments | Labor-intensive; may miss small leaks |
The accuracy gap between these methods is worth noting. Pressure-based tests, for example, can achieve up to 97% accuracy, while visual inspections lag behind at about 67% accuracy for detecting and classifying damage. This difference underscores why pressure-based methods are often considered the gold standard.
Duct pressurization testing works by pressurizing the duct system and measuring air leakage rates. This method is particularly effective for identifying areas that need sealing or repair, which directly improves energy efficiency. In fact, the U.S. Department of Energy estimates that air leaks can account for up to 40% of heating and cooling costs, making accurate testing crucial.
Blower door testing evaluates the airtightness of an entire building. It involves sealing all openings except one, where a fan depressurizes the interior to measure overall air leakage. For example, Green Attic offers professional blower door tests starting at $250 for buildings under 3,000 square feet.
“A duct system is an extremely important component of a home’s HVAC (heating, ventilation, air conditioning) system meant to transfer conditioned (heated or cooled) air to various rooms. If it is leaking and not properly sealed, you are paying to heat and cool unconditioned parts of your home… and you may be sacrificing comfort at the same time.” – Knockout Inspections™
Visual inspections, while the easiest to perform, are the least reliable. SMACNA notes that visual checks can suffice for verifying reasonably tight construction, but research shows they often miss smaller leaks and require significant labor.
Which Method to Use When
Selecting the right method depends on the type of building and your specific objectives. Here’s a closer look at when each method works best:
- Residential systems: Combine duct pressurization with blower door testing for a complete evaluation, as residential systems often suffer from significant air loss.
- Commercial systems: Use duct pressurization as the primary method. For larger HVAC systems, multiple fans may be necessary. Visual inspections can be used as a secondary measure.
- Measuring duct efficiency: Duct pressurization is ideal for pinpointing leaks and improving system performance.
- Assessing overall building airtightness: Blower door testing is the go-to for identifying excess air leakage, which can reduce energy costs and prevent issues like drafts, moisture condensation, and outdoor pollutants.
- Budget-friendly or initial assessments: Visual inspections can provide a starting point. Improved techniques, such as using colored liquids or tracers, may help, but they lack the precision of pressure-based methods.
- Industrial applications: A combined approach works well – start with a visual inspection to spot obvious problems, then use duct pressurization for precise measurements. Many codes allow up to 10% leakage and require testing only for high- and medium-pressure ductwork, so thorough evaluation is key.
Professional Testing Services
Trying to test duct leakage on your own often falls short. For accurate results, professional expertise and specialized tools are non-negotiable. With today’s complex HVAC systems and stringent building codes, professional testing plays a key role in ensuring both efficiency and compliance.
When to Call a Professional
Once you’ve familiarized yourself with the basics of duct testing, knowing when to bring in a professional is just as important. These experts use precise methods to meet building code standards and optimize system performance.
For commercial and industrial HVAC systems, professional testing is almost always necessary. These systems involve intricate designs and require advanced equipment to evaluate larger duct networks effectively.
Another critical consideration is building code compliance. Professionals adhere to established national and state standards, ensuring your system meets all regulatory requirements. In some areas, duct testing is required to obtain a Certificate of Occupancy (CO), making professional services a must rather than an option.
You might need professional help if you notice certain red flags, such as uneven temperatures across rooms, rising utility bills, excessive dust near vents, musty odors, or persistent allergy symptoms indoors. These issues often point to duct leaks, which can reduce HVAC efficiency by as much as 20%.
Experts recommend scheduling professional duct testing every 2–3 years to maintain efficiency. It’s also wise to test after any changes to your heating or cooling system.
The cost of ignoring duct issues can be steep. Leaks can waste up to 30% of the air your HVAC system produces, and more than two-thirds of duct systems have leaks. As SITA-TAB, an industry expert, explains:
“You can’t fix what you don’t measure. Duct leakage testing provides the data you need to seal the system and optimize airflow.” – SITA-TAB
On average, professional duct testing costs around $325, with prices ranging from $115 to $450. While it may seem like an upfront expense, this service often pays for itself by improving energy efficiency and avoiding costly repairs down the line.
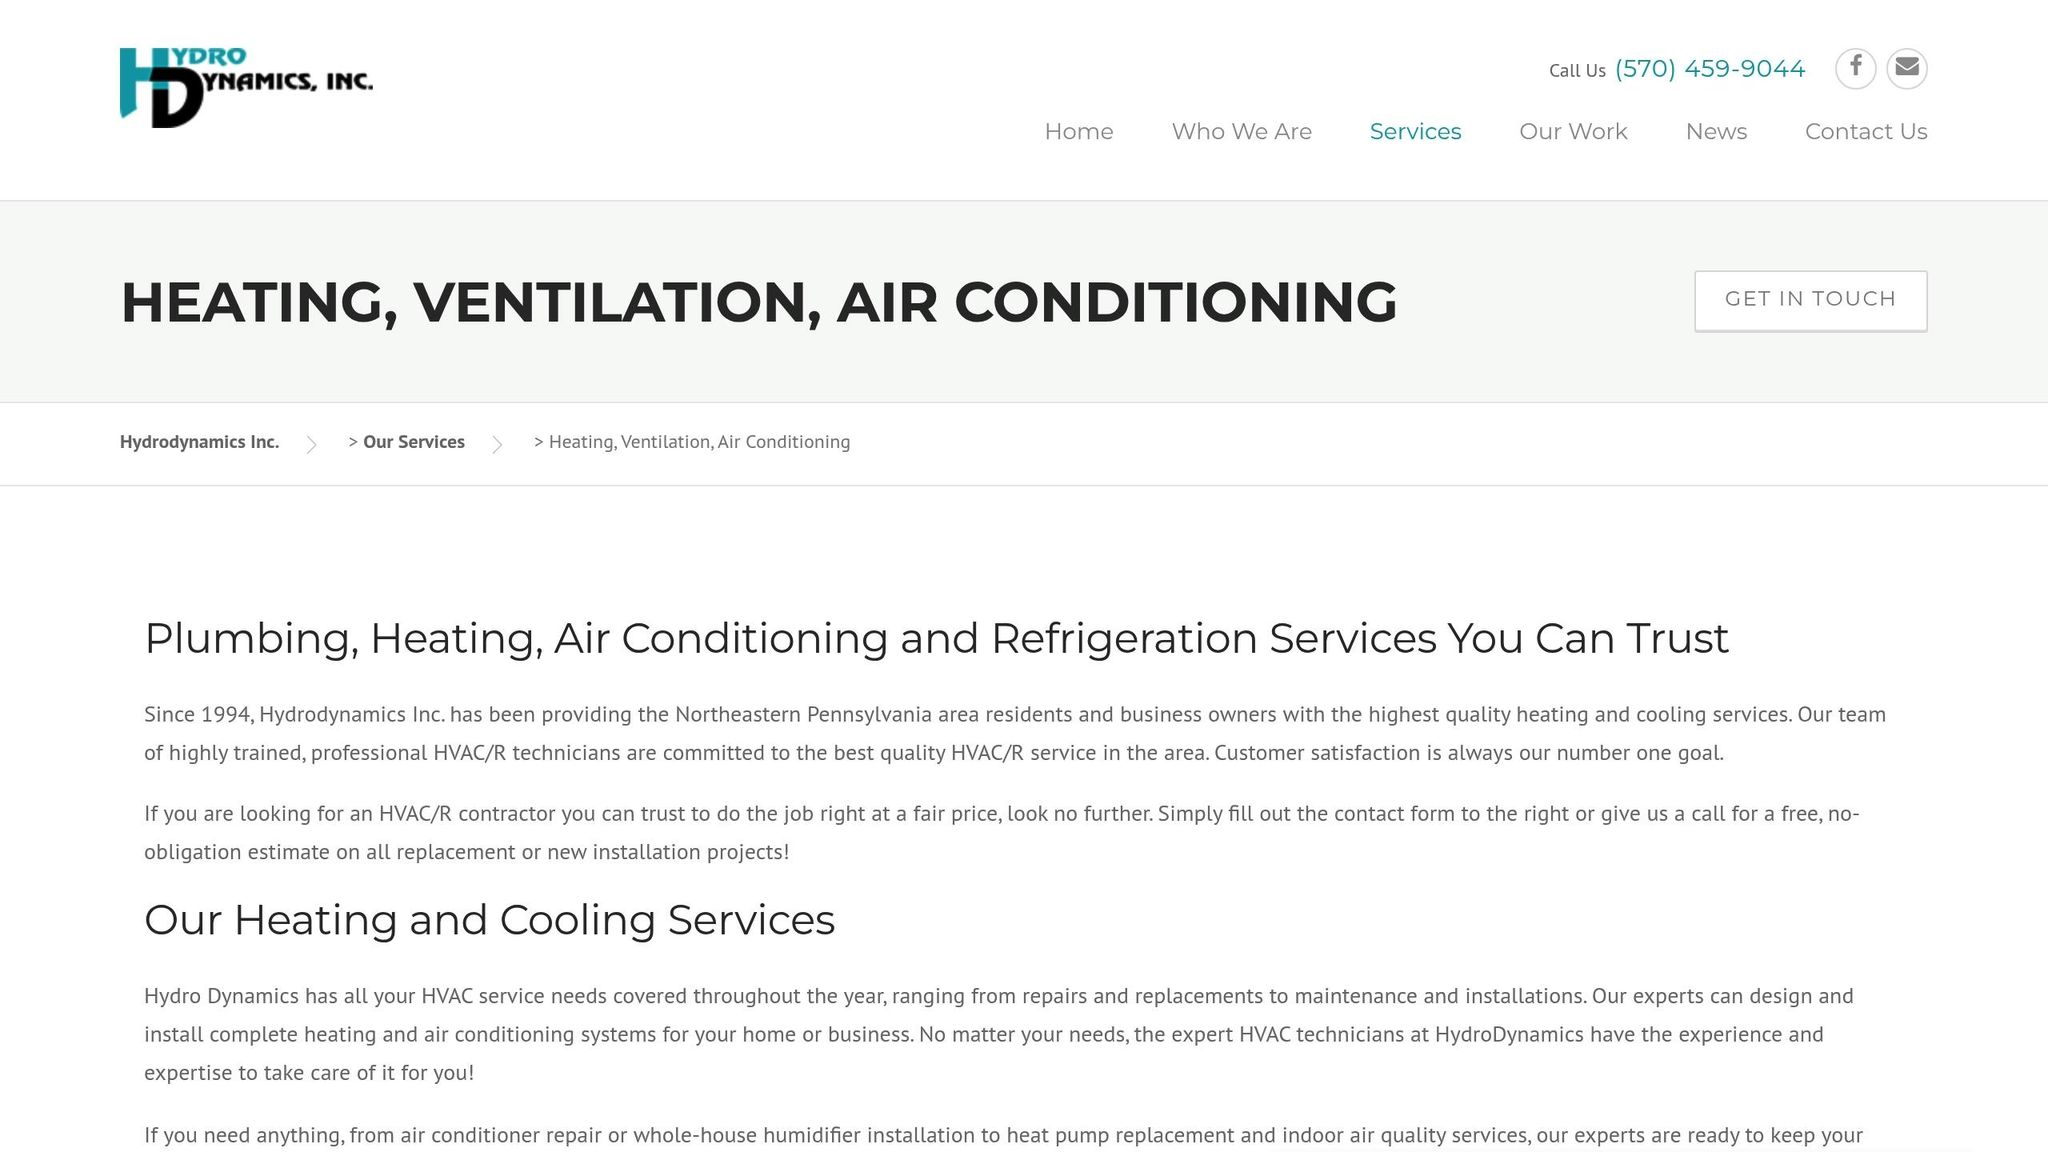
Hydrodynamics Inc. HVAC Services

For dependable, code-compliant testing, Hydrodynamics Inc. is a trusted choice. This family-owned company has been serving residential, commercial, and industrial clients since 1994, offering nearly three decades of HVAC expertise.
Hydrodynamics’ certified technicians use advanced tools like ultrasonic and infrared testing to pinpoint leaks, even in areas that are hard to access with a visual inspection. Their thorough approach ensures no inefficiency goes unnoticed.
Their services typically include a full HVAC inspection, sealing of supply and return registers, pressurizing the duct system, collecting data, and providing a detailed report with actionable recommendations. Additionally, they offer air production cost analysis, helping clients understand the financial impact of air leaks.
Hydrodynamics’ commitment to excellence is backed by certifications such as A.S.S.E Backflow Testing Certification, EPA 609 Certification, and Trac Pipe & Gas Tite Certification. These credentials highlight their dedication to industry standards and regulatory compliance.
Beyond testing, Hydrodynamics offers complete HVAC solutions. They seal ducts to prevent future leaks, provide ongoing maintenance, and service a wide range of systems, including heating, air conditioning, ductless setups, heat pumps, and specialized industrial applications. Their preventative maintenance programs are designed to keep systems running smoothly and to help clients avoid higher energy bills, code violations, and frequent repairs.
With decades of experience and state-of-the-art diagnostic tools, Hydrodynamics Inc. delivers the precise results and compliance that modern HVAC systems demand. Whether it’s routine testing or a full system overhaul, they’re a one-stop solution for all your HVAC needs.
Conclusion
This guide highlights key methods like duct pressurization, blower door tests, and visual inspections to identify leaks that can waste up to 30% of conditioned air.
Routine testing plays a crucial role in maintaining efficiency. As Joe Ophoff, Certified HERS Rater, explains:
“In new construction home design, there is a great emphasis on air leakage and distribution. New homes are designed for super performance, so really fine-tuning distribution systems are necessary for comfort throughout the house.”
The same principle applies to older systems, where significant air leakage is common. Addressing these issues not only improves energy performance but also reduces utility costs.
While energy efficiency is often the main motivation for duct testing, the advantages go beyond just saving money. Proper testing helps maintain consistent indoor temperatures, improves air quality, and ensures compliance with building codes.
Tests like duct blaster evaluations at 25 Pascals and blower door assessments provide precise data, enabling targeted repairs and system optimization.
For homeowners and facility managers, deciding between DIY inspections and professional testing often depends on the system’s complexity and code compliance needs. Visual inspections might uncover obvious problems, but achieving peak performance usually requires professional expertise and specialized tools. For guaranteed results and compliance, professional testing is indispensable.
Hydrodynamics Inc., with nearly 30 years of experience, offers comprehensive duct testing services. Their approach combines advanced diagnostic tools with certified expertise, ensuring your HVAC system runs efficiently and meets all regulatory standards. From initial inspections to detailed reports and repair recommendations, their services are designed to optimize performance.
Whether you’re installing a new system, addressing comfort concerns, or maintaining an existing setup, regular duct leakage testing is a wise investment. The upfront cost of professional testing pays off through lower energy bills, extended system lifespan, and the confidence of knowing your HVAC system is operating at its best.
FAQs
What’s the difference between duct pressurization testing and blower door testing, and when should you use each?
Duct pressurization testing zeroes in on air leaks within the ductwork itself. This process involves a duct blaster, which pressurizes the ducts – typically to 25 Pascals – and pinpoints leaks, especially in areas like attics or crawl spaces that aren’t climate-controlled. It’s commonly carried out after the ductwork is installed to confirm everything is properly sealed.
Blower door testing, by contrast, evaluates the airtightness of the entire building. A blower door fan is used to either pressurize or depressurize the structure, helping to locate overall air leakage. This test is often conducted during or toward the end of construction to ensure the building meets energy efficiency standards.
In summary, duct testing is focused on the duct system, while blower door testing examines the airtightness of the entire building.
How can I tell if I need professional duct leakage testing or if a visual inspection is enough?
If you’re trying to figure out whether you need professional duct leakage testing or if a simple visual inspection will suffice, start by evaluating the situation. A visual inspection is a straightforward approach where you check your ductwork for visible signs of damage, such as holes, cracks, disconnected sections, or worn-out seals. It’s quick and can help you identify obvious problems.
But here’s the thing: smaller leaks or hidden issues are often impossible to spot without the right tools. If your HVAC system isn’t performing as it should, your energy bills seem unusually high, or you suspect more serious leaks, professional testing is a smart move. Methods like pressure testing or blower door tests can give you accurate measurements of duct leakage. These tests are invaluable if you’re looking to improve energy efficiency or need to meet local energy regulations.
What happens if duct leaks are not fixed, and how can they affect energy efficiency and air quality?
Why You Shouldn’t Ignore Duct Leaks
Letting duct leaks slide can hit you where it hurts – your wallet and your health. When your ducts have leaks, the conditioned air you’re paying for escapes, making your HVAC system work overtime. This not only spikes your energy bills but also shortens the lifespan of your heating and cooling equipment.
But that’s not all. Leaky ducts can draw in dust, allergens, and even harmful gases from areas like attics or crawl spaces. This can lead to poor indoor air quality, which might trigger respiratory issues or other health concerns. Tackling duct leaks quickly ensures your home stays comfortable, your air stays clean, and your energy use stays efficient.