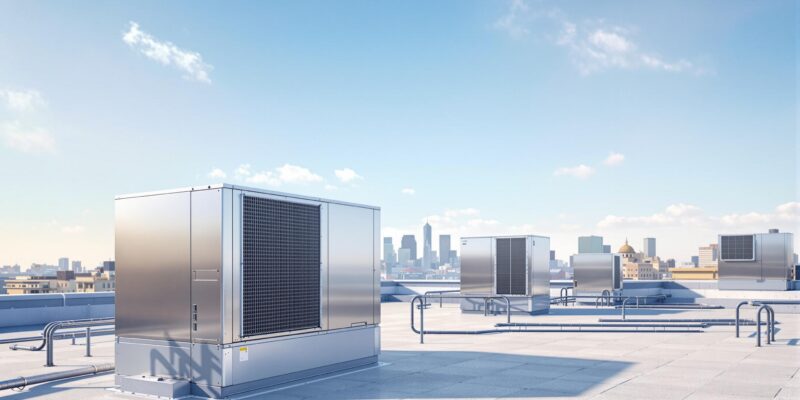
How to Choose Energy-Efficient Rooftop Units
Want to save on energy bills and improve comfort in your commercial space? Choosing the right energy-efficient rooftop unit (RTU) is key. Here’s what you need to know:
- Key Features: Look for variable-speed fans, smart controls, and multi-stage compressors to reduce energy use.
- Efficiency Ratings: Check for SEER2, EER, and IEER values that exceed DOE standards. ENERGY STAR models are ideal.
- Sizing Matters: Match the RTU size to your building’s square footage, insulation, and occupancy.
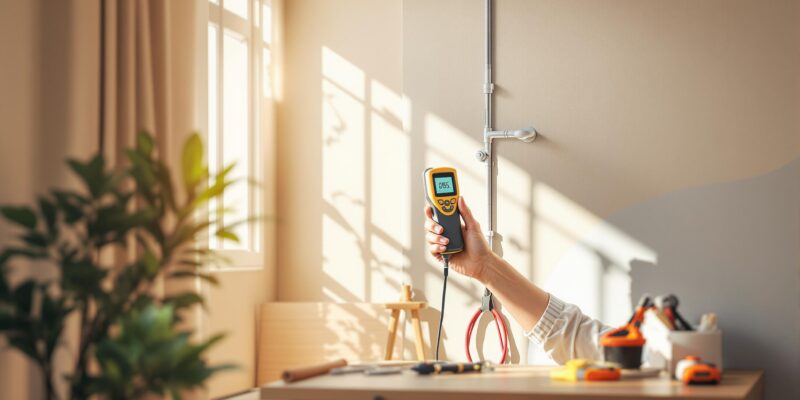
- Maintenance: Regular filter changes, coil cleaning, and professional inspections can extend the RTU’s life (typically 15–20 years).
Pro Tip: Advanced RTUs with smart controls and energy recovery systems can further cut costs and improve performance. For expert advice, consult certified technicians.
Keep reading for a detailed breakdown of RTU components, efficiency metrics, and maintenance tips.
What Makes RTUs Energy-Efficient
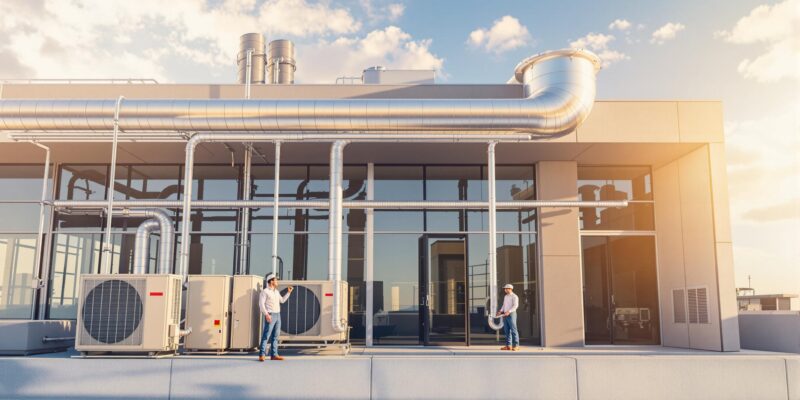
RTU Basics and Components
RTUs (Rooftop Units) are designed with several components that help reduce energy consumption:
- ECMs (Electronically Commutated Motors) use up to 20% less energy compared to traditional PSC motors.
- Smart sensors and controls adjust airflow and temperature dynamically based on real-time conditions.
- Advanced heat exchangers improve heat transfer efficiency by as much as 30%.
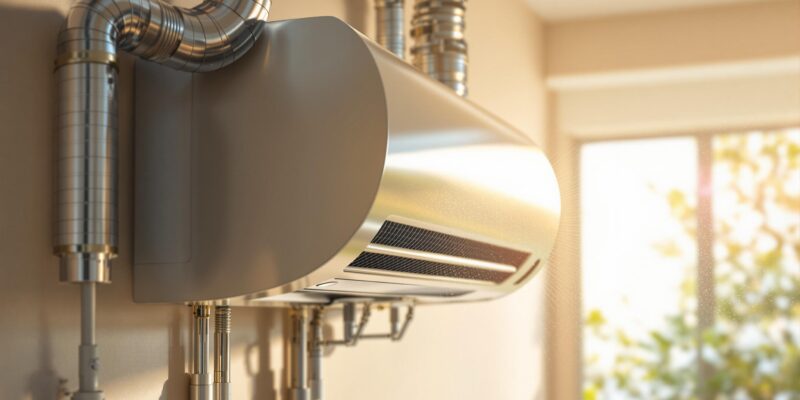
These systems are made up of outdoor components (like the compressor and condenser) and indoor modules (such as the evaporator and air handler).
Cost and Energy Benefits
By aligning capacity with actual demand, RTUs minimize unnecessary cycling, which helps reduce energy waste. Advanced controls can also lower peak demand charges. Operating with less stress means fewer service calls and longer equipment life. Other perks include more consistent temperatures, improved air quality with high-MERV filters and demand-controlled ventilation, and a reduced environmental impact.
These factors are essential when determining the right size for your RTU.
How to Select the Right RTU
Size and Load Requirements
To properly size your rooftop unit (RTU), calculate the cooling and heating loads based on key building factors:
- Square footage: Total area of the space to be conditioned.
- Building envelope: Consider insulation levels, window types, and air infiltration.
- Peak occupancy: Account for the number of people typically present.
- Heat-generating equipment: Include items like computers, machinery, and lighting.
Once you’ve determined the appropriate size, review efficiency metrics to ensure optimal performance.
Energy Ratings Guide
When comparing RTUs, pay attention to efficiency ratings like SEER2, Energy Efficiency Ratio (EER), and Integrated Energy Efficiency Ratio (IEER). Opt for models with the ENERGY STAR label, as they meet high-performance standards for energy savings.
Modern RTU Technology
Many of today’s RTUs come with advanced features designed to boost efficiency and performance, such as:
- Variable-speed compressors for better temperature control.
- Smart controls that allow remote monitoring and adjustments.
- Energy recovery ventilators to reuse energy from exhaust air.
- Fault detection systems to identify issues early.
For even greater efficiency, integrate your RTU with a building automation system (BAS). This setup can adjust setpoints based on occupancy, manage zones, track energy use in real time, and send maintenance reminders.
For expert sizing, installation, and servicing, collaborate with Hydrodynamics‘ certified technicians to keep your RTU running efficiently.
Energence® Rooftop Unit
RTU Care and Service Life
Once you’ve chosen the right RTU, keeping it in good shape requires regular maintenance.
Routine Maintenance Tips
To ensure your RTU runs efficiently, follow these maintenance steps:
- Replace filters every 1–3 months to keep airflow steady.
- Clean coils every quarter to maintain efficient heat transfer.
- Schedule professional checks twice a year (spring and fall) to inspect thermostat calibration, compressor performance, controls, and ductwork.
A technician should handle the biannual inspections to ensure everything is functioning as it should.
Signs It’s Time to Replace Your RTU
Most RTUs have a lifespan of 15–20 years [1]. Consider replacing your unit if you notice:
- Higher energy bills, even with regular maintenance.
- Frequent breakdowns or increasing repair costs.
- Uneven temperatures, strange noises, or longer run times.
Hydrodynamics offers professional advice, maintenance plans, and replacement services to help keep your system running smoothly.
[1] RAG doc2 – Typical RTU lifespan
Conclusion
By following these guidelines – focusing on proper sizing, efficiency ratings, and easy service access – you can boost your RTU’s performance while reducing costs.
Since 1994, Hydrodynamics Inc., a family-owned business, has been helping customers with expert advice and certified technicians. They assess your load requirements, recommend energy-efficient RTUs, and offer maintenance services to keep your equipment running longer.
Get in touch with Hydrodynamics today to choose, install, and maintain your energy-efficient rooftop unit.